What is "Cloud Computing" and Why You Should Use It
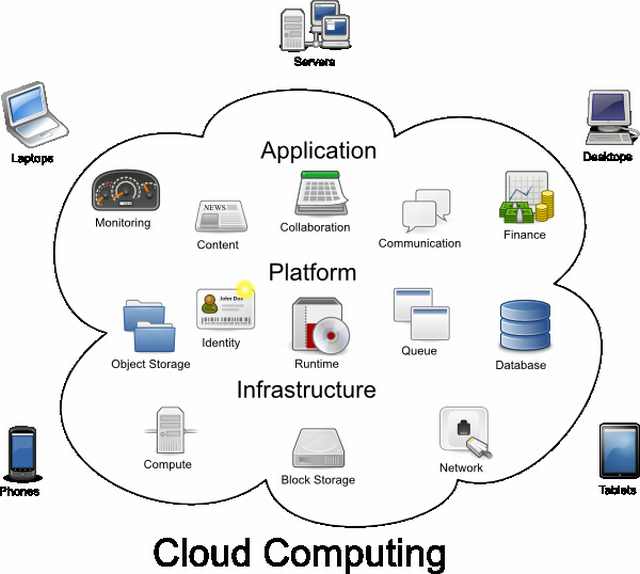
You might have heard the term “Cloud
Computing” used in different contexts and might not be 100% sure what it
means. This is quite understandable as cloud computing has only started
getting popular in recent years. The term “cloud” comes from referring
to a large swarm of objects, which, from a distance – will resemble a
cloud. In the case of cloud computing, it refers to a large group of
computers (including smartphone, tablets, etc.) that work together for a
certain goal.
|
 |
These days, cloud computing is used
for various kinds of tasks – from hosting your pictures on the internet,
to running complicated functions & calculations for big computing
companies.
Using a cloud-based service, a
company can save money on buying and maintaining its own database, and
instead, have it saved in a distant location, with several redundancies,
for a fraction of the cost, and it is then also available anywhere in
the world. This also allows companies to add computing power as needed
(either temporarily or permanently) almost instantaneously.
|
You might be asking yourself: “what does it have to do with me?” and you’ll be surprised with the answer.
Regular users like you and I can utilize cloud computing for many of our own purposes, for example:
|
You can backup any kind of file from your computer and be able to access it and share it with colleagues, friends and family.
|
Google Drive:
Google’s service integrates with your Google account, so if you have
Gmail – you can already access the web-based drive. You can also
download the Drive app to your computer and set up a dedicated folder,
where you can save files and photos, and it will synchronize them with
Drive and keep a copy online that you can then share with whomever you
choose. It even allows you to create Word documents, presentations and
datasheets, edit them and even let others edit them (if you so choose).
Best of all, it works on PC, Mac, Android and iOS, meaning you can
access it from practically all of your devices!
|
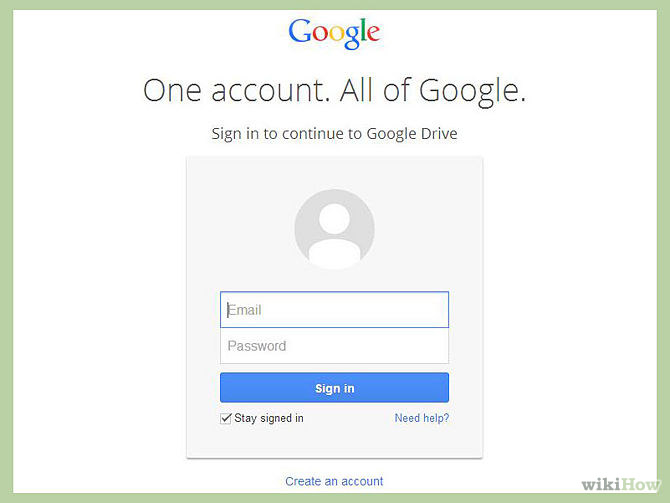
First, login into your Google account (if you don't have one, simply sign up).
 |
Then, download the Drive software for
your computer. It will ask you to specify a folder for drive, that
folder will appear like any other computer folder, but it'll constantly
synchronize with your online drive.
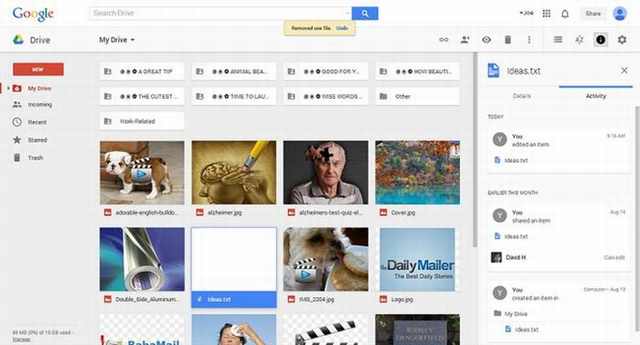
Since it's your first time, your drive will be empty (not messy like mine).
|
 |
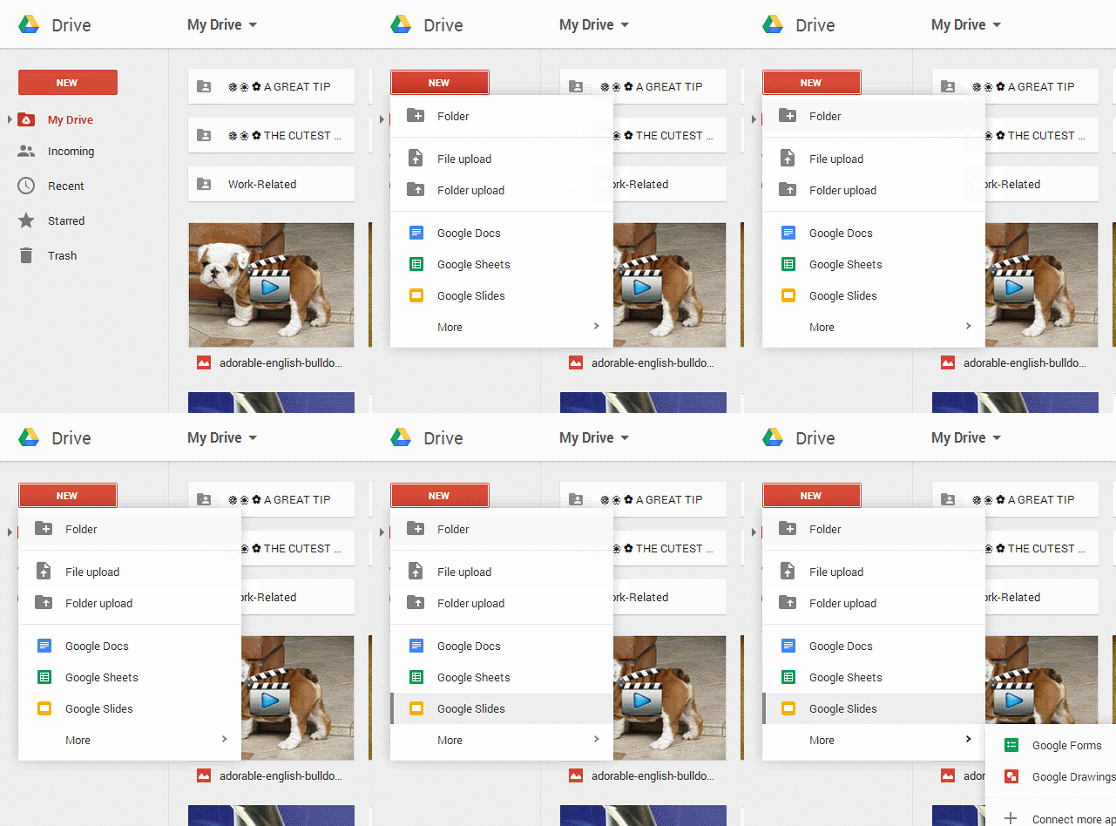
| You can select the "NEW" button and choose what you'd like to do - create a folder, upload a file or folder from your computer, or start a word document or data sheet. |
 |
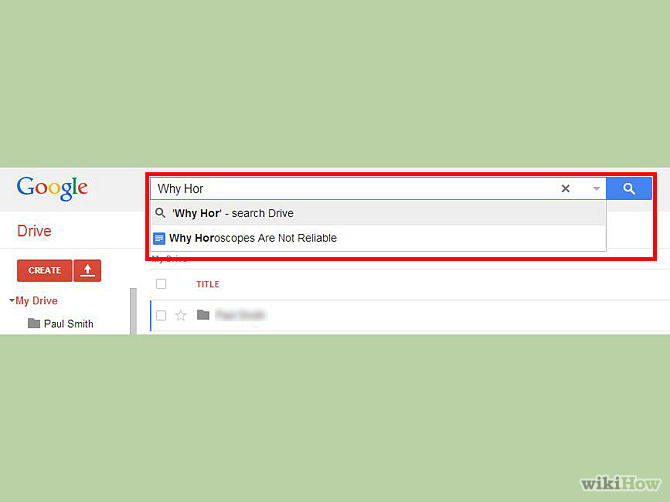
If you already uploaded a file and can't find it, you can use the search function.
|
 |
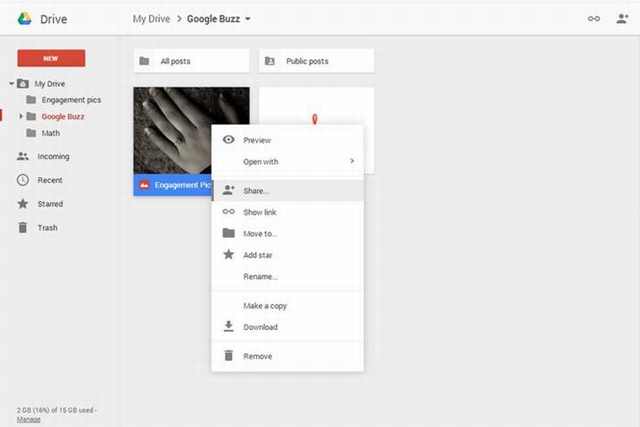
| Now that you've found your file, you can right-click on it and choose to open, move, rename, copy, download and remove it, but also to share it. |
 |
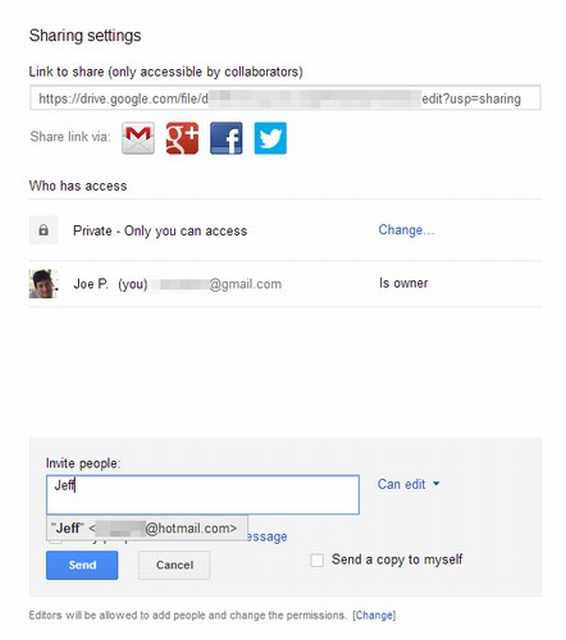
| When you select the share option, you will see this screen and you can choose whom to share it with, and whether or not they can just view the file, or even edit it. |
 |
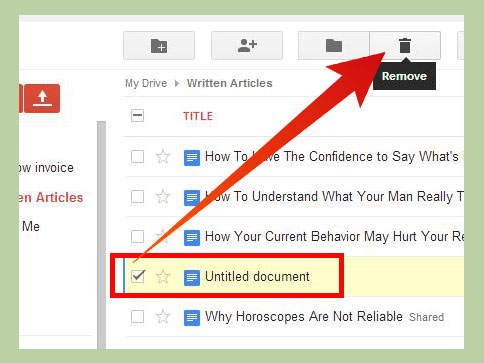
If there is a file you don't wish to
keep on your Drive anymore, simply check the box to the left of it, and
click the trash can icon at the top.
|
 |
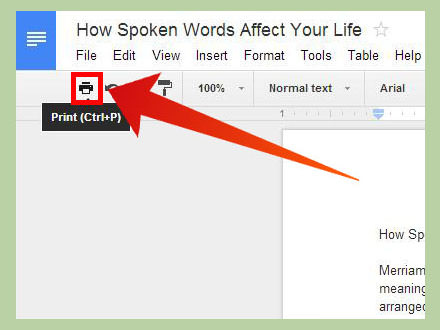
Do you want to print a document or picture? No problem, check the box to the left, and click the small printer icon.
|
 |
| That's just the basics of Google Drive, but it's an incredibly powerful service, and it's 100% free. You can also download the Drive app to your smartphone and access it when you're on the go. The interface is similar but more basic, and it sure is useful! |
Dropbox:
Dropbox allows you to create a folder (or folders) on your computer
which will be automatically synchronized with your cloud account. While
it has less features than Drive, it’s considered to be easier to use,
and like Drive – it also has dedicated apps for PC, Mac, Android &
iOS, meaning it’s available everywhere, all the time.
|
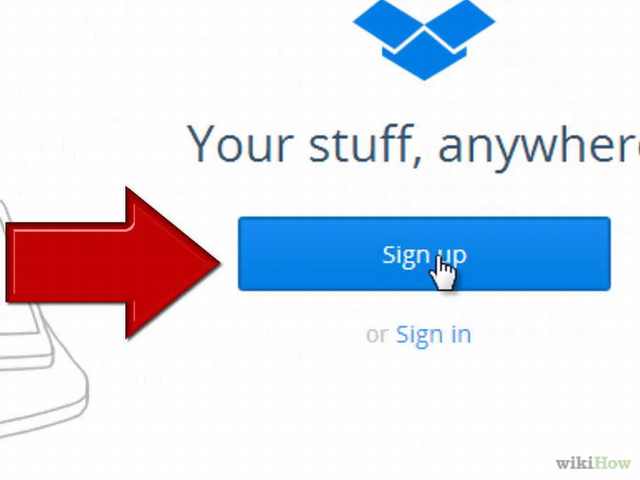
| Go to the Dropbox SITE and sign up, then download the Dropbox software to your computer. |
 |
After installing the software,
dropbox will create a folder called "Dropbox" - this is the folder it
uses to save your files to the cloud.
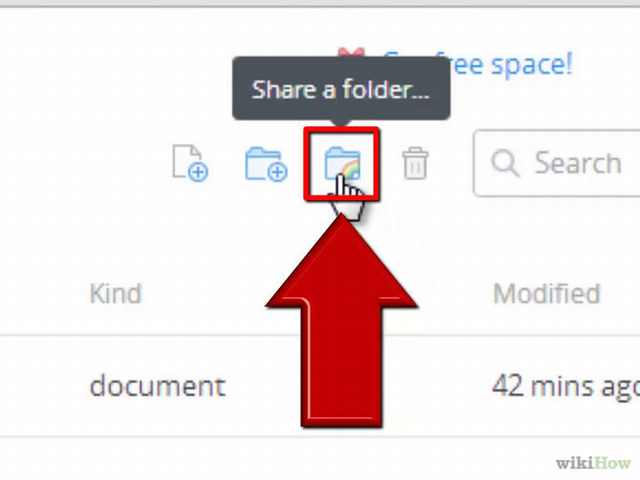
If you choose not to install the
software, but still want to create and share a folder inside of Dropbox,
log into the website, then click the "Share a folder" icon.
|
 |
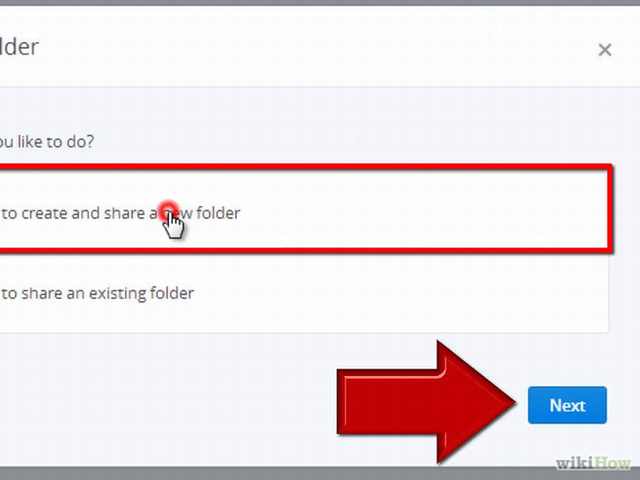
You'll see the option to create and share a folder.
|
 |
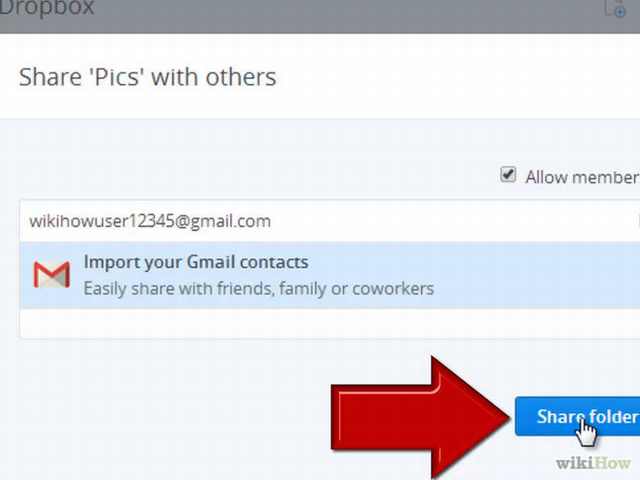
Type in the email address of whomever you want to share the folder with.
|
 |
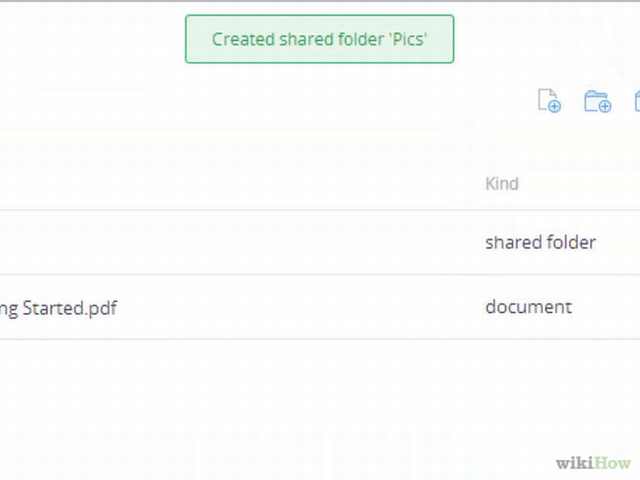
You will see the new folder
|
 |
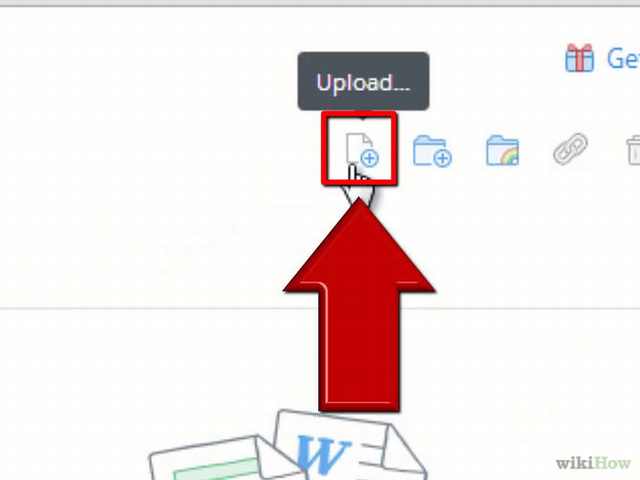
| Click the "Upload" icon. |
 |
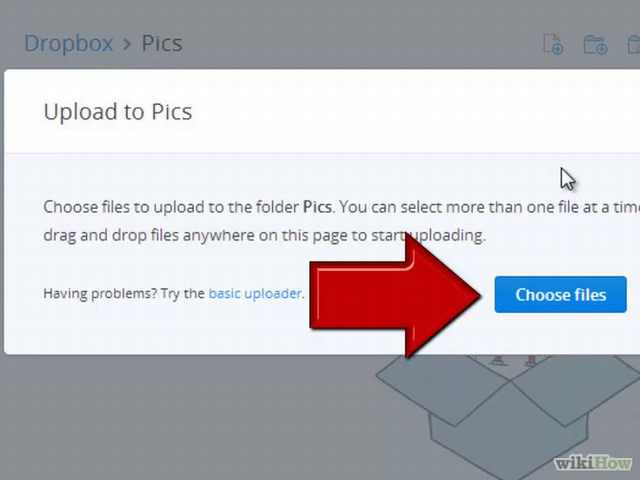
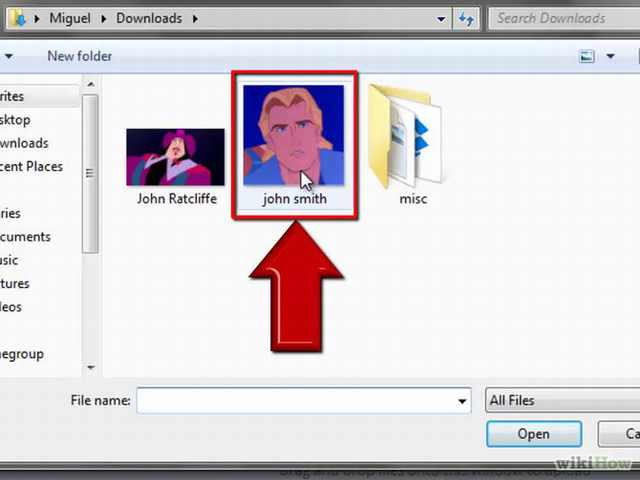
Choose the files you'd like to upload.
|
 |
 |
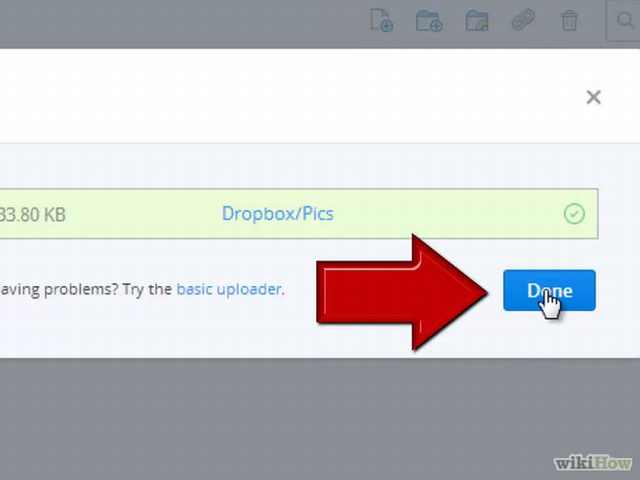
Click Done to finish.
|
 |
Flickr:
Flickr is an image sharing and backup site. It’s owned by Yahoo and is
very simple and easy to use. The interface is very friendly and the app
integration on Android and iOS makes it incredibly fun to use and share
your pictures and videos with your friends and family.
Go to the website and sign up for a free account.
|
 |
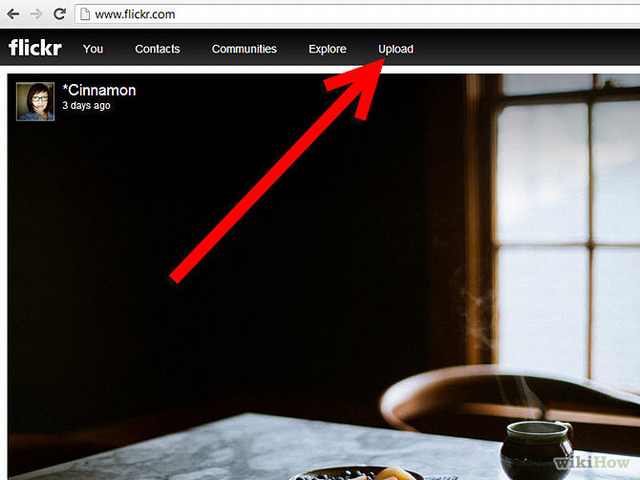
Go to the "Uploads" section.
|
 |
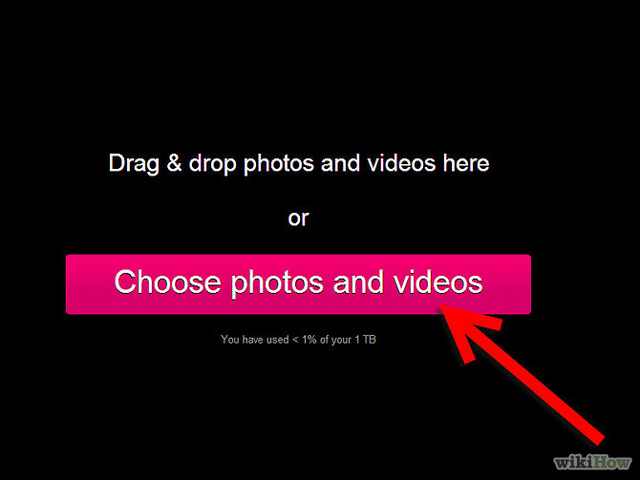
Either drag and drop the pictures you want to share, or click the "Choose photos and videos" button to search for them.
|
 |
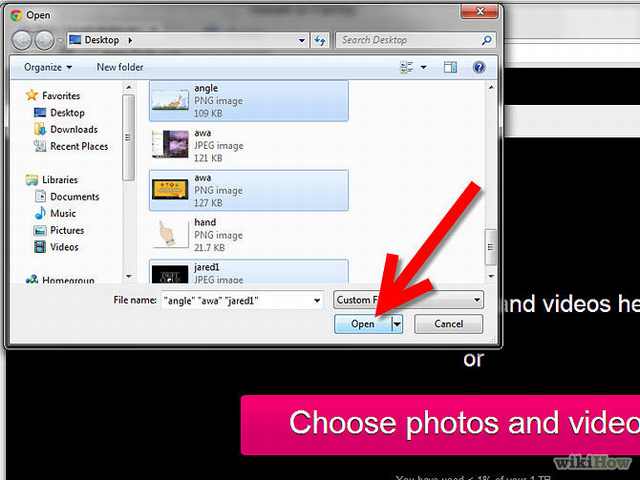
Select the pictures you want to upload and share and click "Open".
|
 |
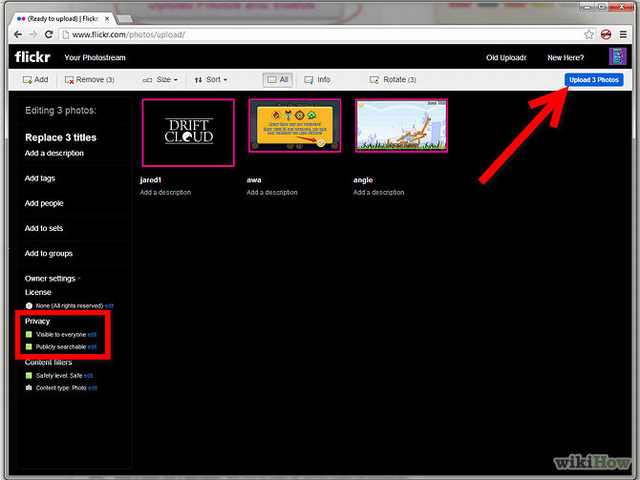
You will see a preview of the pictures/videos. Now click the "Upload x Photos" button.
You can also set the privacy settings to decide who can search for your pictures.
|
 |
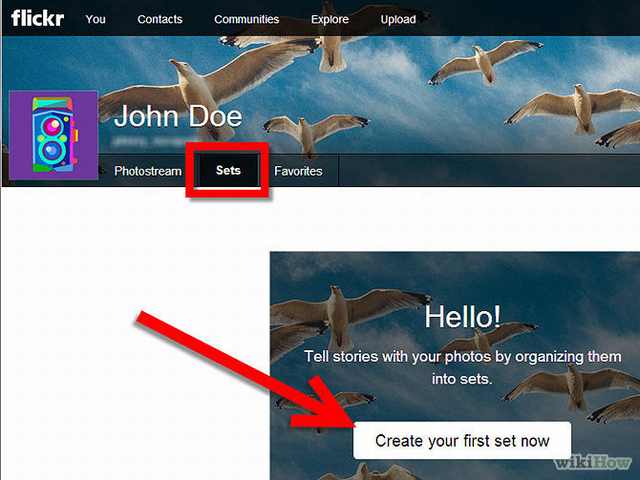
To create a set, select the "Sets" tab, and create your first set.
|
 |
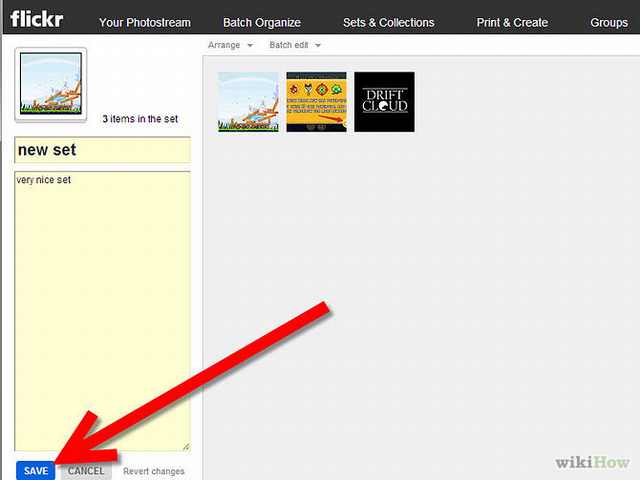
Choose which pictures you'd like to have in the set, then click "Save".
|
 |
Now, to share a picture, simply click the share icon.
|
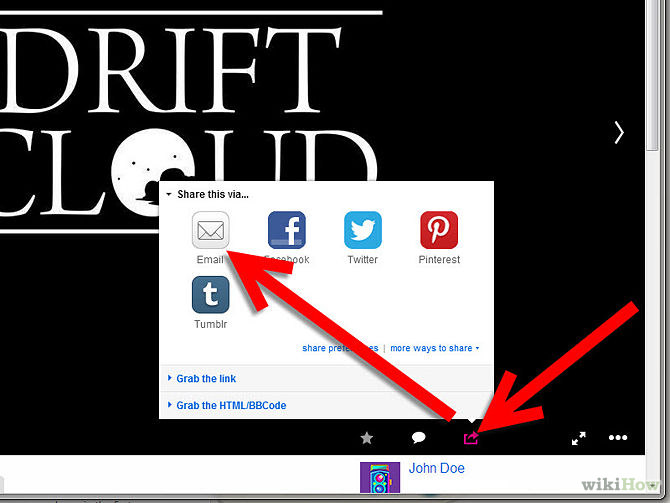 |
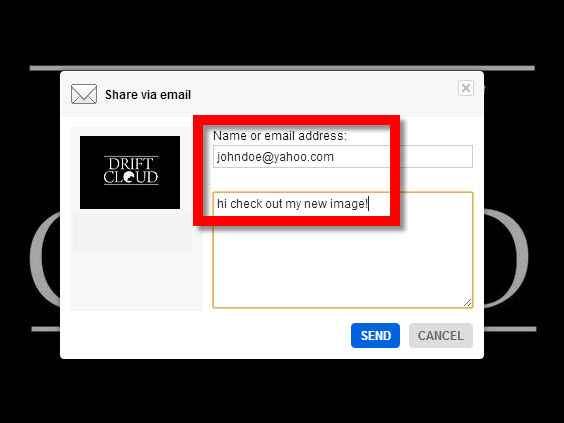
Choose which way you'd like to share
it (E-Mail, Facebook, Pinterest, Twitter, etc.), and insert the person's
contact details (E-Mail address, Facebook name, etc.).
|
 |
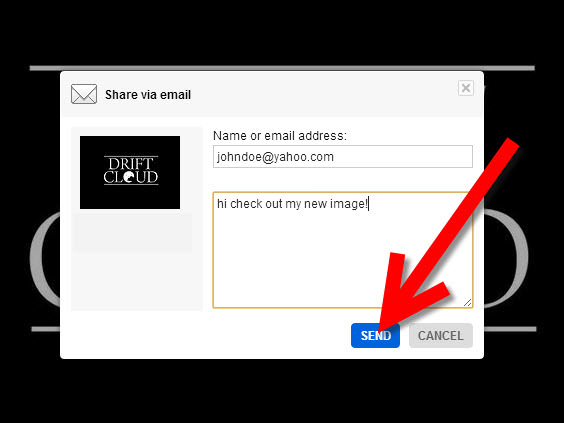
Now click the "Send" button and that's it!
|
 |
OhLife:
OhLife is a cloud-based journal, where you can write whatever you want,
revisit it anytime and from anywhere. It works by sending you an e-mail
at days and times you set up, and when you reply – it becomes an entry
which you can later read.
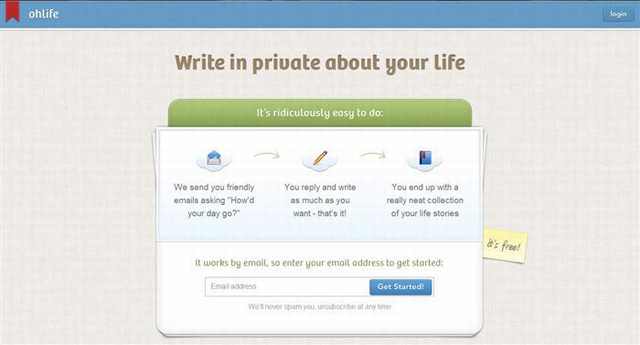
Go to the OhLife Website and insert your E-Mail address in the "Email address" field.
|
 |
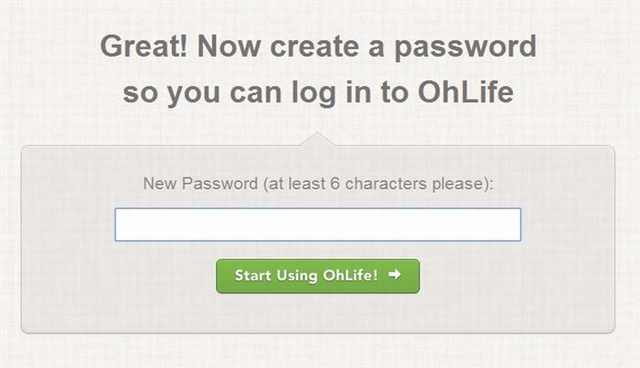
Choose a password. (6 letters or more)
|
 |
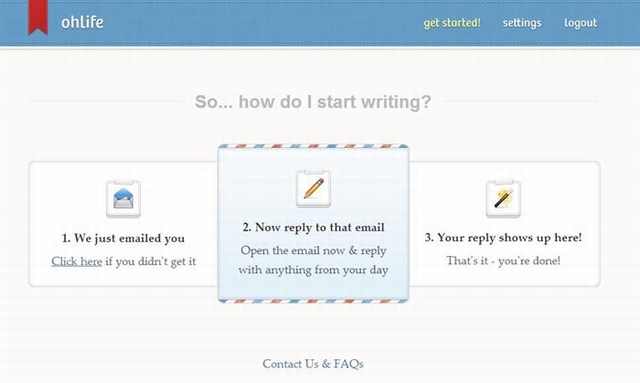
That's it, you'll now get an email, when you reply to it, whatever you wrote will become that day's journal entry.
|
 |
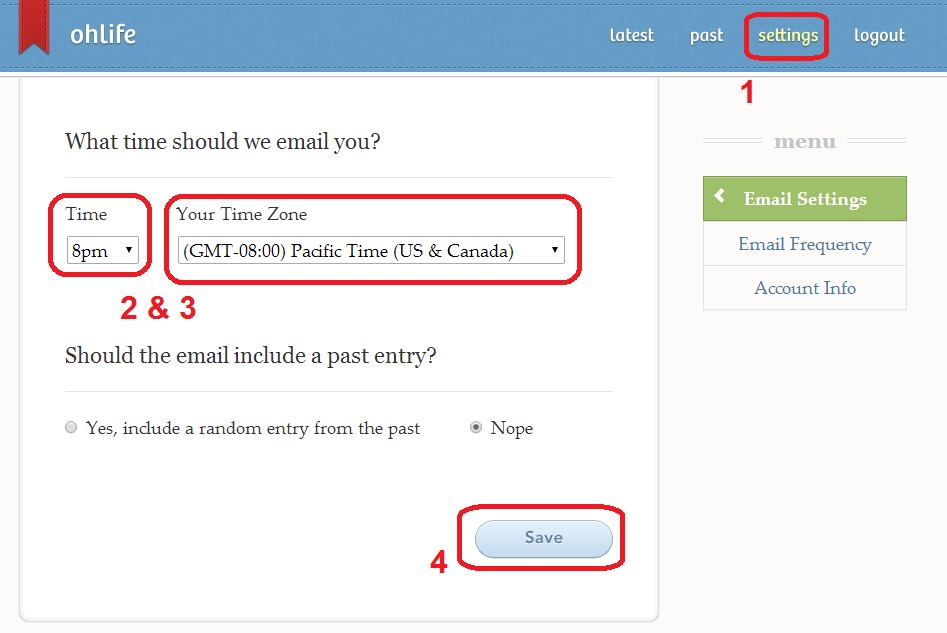
Now, Go to settings, select the time of day you'd like to receive your emails and your time zone, and click "Save".
|
 |
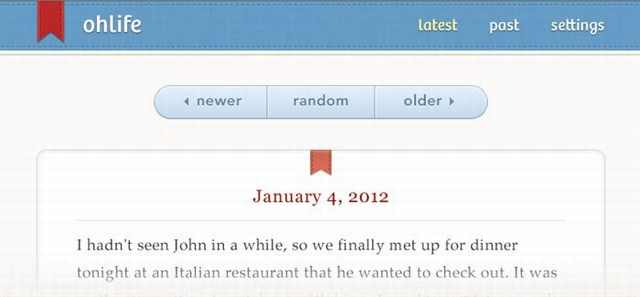
You'll
keep getting these emails in whatever frequency you choose, and when
you reply to them - they will also become journal entries.
|
 |